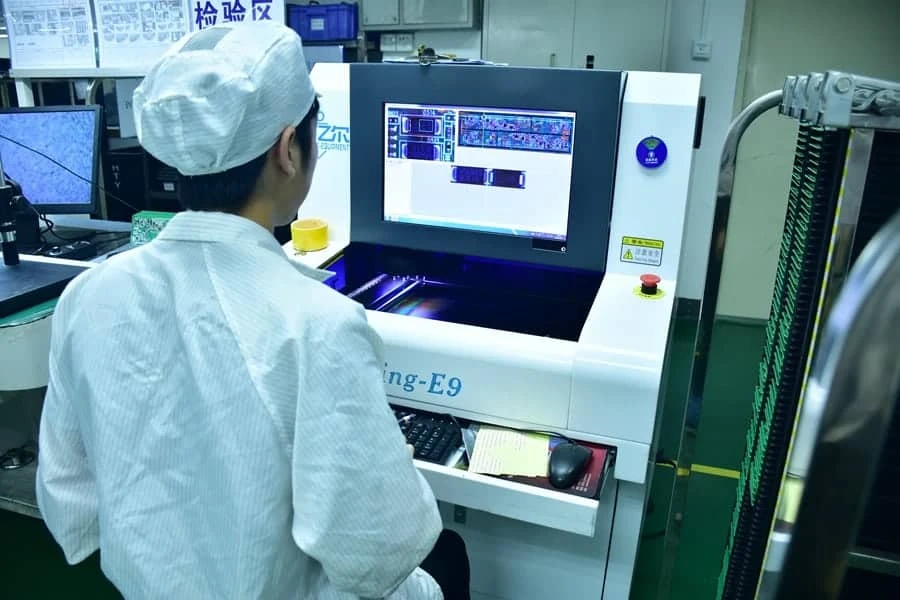
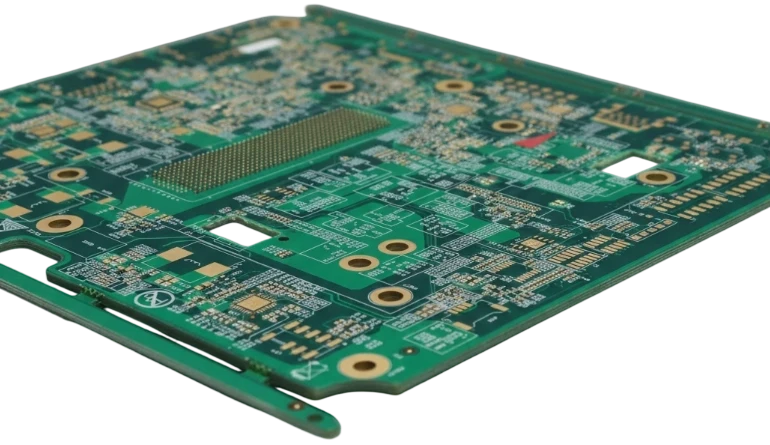
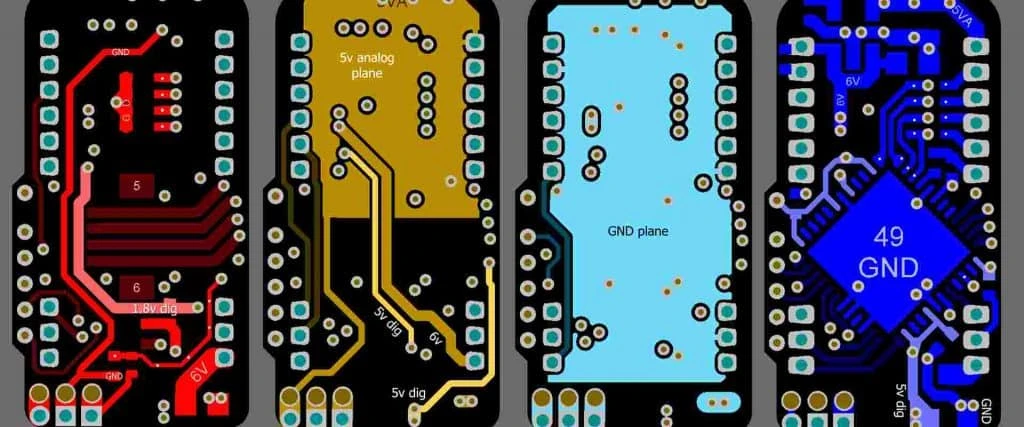
AOI data analytics is the systematic processing of automated optical inspection results to drive process improvement rather than simply catching defects. It transforms raw pass/fail data into actionable trends, enabling engineers to predict yield drift and optimize upstream manufacturing parameters. This guide covers the transition from basic defect detection to advanced statistical process control using AOI data.
Key Takeaways
- Definition: AOI data analytics focuses on the interpretation of inspection data to reduce the "False Call Rate" and improve "First Pass Yield" (FPY).
- Core Metric: The False Call Rate (FCR) must be kept below 5,000 PPM (0.5%) to prevent operator fatigue and data noise.
- Process Window: Effective analytics help define the soldermask process window by tracking registration drift across thousands of panels.
- Feedback Loop: Data should not stay in the AOI machine; it must feed back to the SMT printer or pick-and-place machine within 5 minutes of detection.
- Validation Tip: Verify data integrity by running a "Golden Board" through the system 10 times; the data output must be identical every time (0% variance).
- Misconception: A higher defect capture rate is not always better; if the FCR exceeds 10%, the data becomes unusable for analytics due to signal-to-noise ratio issues.
- Decision Rule: If your production volume exceeds 50,000 components per day, manual data review is statistically invalid; automated SQL-based analytics are mandatory.
What It Really Means (Scope & Boundaries)
AOI (Automated Optical Inspection) data analytics extends beyond the binary "Pass/Fail" decision. It involves aggregating measurement data—such as fillet height, component shift, and coplanarity—to visualize the stability of the manufacturing process.
The Scope of Analytics
True analytics requires the storage of parametric data, not just defect images.
- Measurement Data: Storing the actual X/Y shift values (e.g., +0.05mm) rather than just "Pass."
- Trend Analysis: Identifying if a specific nozzle on a pick-and-place machine is drifting over time.
- Upstream Feedback: Using defect density heatmaps to adjust etch compensation planning during the bare board fabrication phase.
Boundaries
It is critical to define what AOI analytics cannot do.
- It cannot fix a defect; it only identifies the cause.
- It cannot replace electrical testing (ICT/FCT) as it only verifies physical attributes.
- It is limited by the resolution of the camera; analytics on sub-pixel data often lead to false conclusions.
Metrics That Matter (How to Evaluate It)
To implement a robust quality system, you must track specific numeric indicators. General "good quality" statements are insufficient for process engineering.
Operational Efficiency Metrics
These metrics measure how well the AOI machine and the operators are performing.
| Metric | Target Range | Why It Matters | How to Verify |
|---|---|---|---|
| First Pass Yield (FPY) | > 98.5% | Indicates the true health of the SMT line without rework. | Calculate: (Total Boards - First Run Failures) / Total Boards. |
| False Call Rate (FCR) | < 500 PPM | High FCR causes operators to ignore real defects (alarm fatigue). | Count operator "False Fail" classifications per 1M opportunities. |
| Escape Rate | 0 PPM | A defect that leaves the factory is the ultimate failure. | Track customer returns (RMA) and trace back to AOI logs. |
| Inspection Speed | < 25 sec/panel | Analytics must not become the bottleneck of the line. | Measure cycle time including image processing and data export. |
| Review Time | < 5 sec/defect | Slow software interfaces delay the feedback loop. | Time the operator from "Image Load" to "Classification Decision." |
Process Capability Metrics
These metrics measure the stability of the manufacturing process itself, using data derived from AOI inspection.
| Metric | Target Range | Why It Matters | How to Verify |
|---|---|---|---|
| Cpk (Process Capability) | > 1.33 | Measures if the process fits within the specification limits. | Export X/Y shift data; calculate Cpk in statistical software (e.g., Minitab). |
| Gage R&R | < 10% | Ensures the measurement system (AOI) is repeatable and reproducible. | Run 10 boards, 3 times each, with 3 different operators/settings. |
| Shift Variance | < ±10% of Pad | Excessive shift indicates pick-and-place nozzle wear or feeder issues. | Analyze component centroid vs. pad centroid data. |
| Solder Volume | 50% – 130% | Prevents dry joints (low volume) or bridging (high volume). | Requires 3D AOI; measure volume against stencil aperture volume. |
| Defect Density | < 0.05 per board | Aggregated metric for high-level management review. | Total defects divided by total production volume over a shift. |

How to Choose (Selection Guidance by Scenario)
Selecting the right analytics approach depends on production volume, product complexity, and reliability requirements. Use these decision rules to determine the best fit.
- If you are running NPI (New Product Introduction) batches (< 50 units), choose manual data export to Excel.
- Reason: Setup time for automated SQL databases exceeds the value of the data for short runs.
- If you are in Mass Production (> 10k units), choose a centralized SQL database with real-time dashboards.
- Reason: Manual compilation is too slow to catch yield drift before scrap is produced.
- If your components are smaller than 0201 imperial, choose 3D AOI with volumetric data analytics.
- Reason: 2D contrast analysis is insufficient for measuring solder volume on microscopic pads.
- If you require automotive grade reliability, choose a system that retains image data for at least 5 years.
- Reason: Liability tracing requires evidence of the board state at the time of manufacture.
- If you have multiple SMT lines, choose a server-based analytics platform that aggregates data across all lines.
- Reason: This identifies if a specific reel of components is causing defects across multiple machines.
- If you are analyzing soldermask process window violations, choose an AOI system that can export registration data relative to fiducials.
- Reason: This data is critical for feedback to the PCB fabrication facility.
- If budget is limited (< $50k), choose 2D AOI but invest in third-party statistical software.
- Reason: Good algorithms on 2D images are better than poor algorithms on 3D images.
- If you use 0.4mm pitch BGAs, choose 3D AOI combined with SPI inspection data correlation.
- Reason: AOI alone cannot see beneath the BGA; correlating paste volume (SPI) with component placement (AOI) predicts yield.
- If false calls are high due to shiny fillets, choose analytics software with AI-based image classification.
- Reason: AI is superior at distinguishing between lighting reflections and actual defects.
- If you need to optimize etch compensation planning, choose a system that measures trace width variations on bare boards.
- Reason: This feedback allows the fab house to adjust chemical etching parameters for future batches.
Implementation Checkpoints (Design to Manufacturing)
Implementing AOI data analytics is a structured process. Follow this checklist to ensure data validity and system stability.
Phase 1: Preparation & Setup
- Define Data Schema
- Action: Standardize defect codes (e.g., "01" = Missing, "02" = Shift) across all machines.
- Acceptance: All machines output the exact same code for the same defect type.
- Server Infrastructure
- Action: Provision a dedicated SQL server with at least 1TB of storage for image logs.
- Acceptance: Network latency between AOI machine and server is < 100ms.
- Golden Board Baseline
- Action: Run a known good board through the system 20 times to establish noise levels.
- Acceptance: False call rate on the Golden Board must be 0 PPM.
Phase 2: Calibration & Tuning
- Threshold Setting
- Action: Set parametric limits (e.g., shift > 25%) based on IPC-610 Class 2 or 3 requirements.
- Acceptance: System flags 100% of induced defects on a test board.
- Gage R&R Study
- Action: Perform a formal Gage Repeatability and Reproducibility study.
- Acceptance: Total Gage R&R score is < 10%.
- Lighting Optimization
- Action: Adjust RGB lighting angles to maximize contrast for specific component packages.
- Acceptance: Histogram separation between "Pass" and "Fail" features is distinct (no overlap).
- Library Management
- Action: Create a central component library to ensure consistent inspection logic.
- Acceptance: New part numbers inherit algorithms from the central library automatically.
Phase 3: Production & Feedback
- Real-Time Dashboard
- Action: Configure screens on the SMT line to show top 5 defects in real-time.
- Acceptance: Dashboard updates within 60 seconds of board inspection.
- Closed-Loop Feedback
- Action: Link AOI data to the SMT mounter to auto-correct X/Y offsets.
- Acceptance: Mounter receives offset correction data after 3 consecutive shifted boards.
- Audit & Review
- Action: Weekly review of "False Calls" to tune algorithms.
- Acceptance: False call rate decreases by 10% month-over-month until plateau.

Common Mistakes (and the Correct Approach)
Errors in data analytics often lead to incorrect process adjustments. Avoid these pitfalls to maintain mass production stability.
Mistake: Adjusting the process based on a single defect.
- Impact: Introduces "hunting" or oscillation in the process, increasing variability.
- Fix: Use trend rules (e.g., Western Electric Rules)—only adjust if 3 consecutive boards show the same drift.
- Verify: Check Cpk trends; they should remain stable or improve, not fluctuate.
Mistake: Ignoring the "False Call" data.
- Impact: Operators develop "click-through" habits and eventually approve real defects.
- Fix: Treat high FCR as a machine failure. Stop the line if FCR > 0.5%.
- Verify: Monitor operator log files for review times < 1 second (impossible for human verification).
Mistake: Using default component libraries for all vendors.
- Impact: Different vendors (e.g., Samsung vs. Murata) have different body colors/shapes, causing false fails.
- Fix: Create vendor-specific library entries or use OCV (Optical Character Verification) training.
- Verify: Inspect the "Component ID" field in the data log to ensure vendor matching.
Mistake: Deleting image logs to save space.
- Impact: Impossible to perform root cause analysis on field failures returned months later.
- Fix: Implement tiered storage: Hot storage (1 month) for analytics, Cold storage (5 years) for compliance.
- Verify: Attempt to retrieve an image from a board produced 6 months ago.
Mistake: Focusing only on SMT and ignoring PCB fabrication data.
- Impact: Recurring issues caused by pad size variations or soldermask encroachment are never fixed.
- Fix: Correlate AOI data with DFM guidelines and feedback to the PCB supplier.
- Verify: Track "Pad Defect" categories separately from "Component Defect" categories.
Mistake: Over-tightening thresholds (e.g., 0% shift tolerance).
- Impact: Massive false call rate with no value added to reliability.
- Fix: Align thresholds with IPC standards (e.g., IPC-A-610 allows up to 50% overhang for some parts).
- Verify: Compare AOI rejection criteria against the physical IPC-A-610 book.
Mistake: Lack of calibration maintenance.
- Impact: Measurement data drifts over time due to machine vibration or lighting degradation.
- Fix: Run a calibration plate (grid plate) weekly.
- Verify: Check the "Pixel-to-Micron" ratio in the system logs for stability.
Mistake: Siloed data (AOI data not talking to SPI data).
- Impact: Missing the correlation between paste volume and solder joint quality.
- Fix: Implement a line-level software suite that links SPI and AOI by barcode.
- Verify: Pull a report showing Paste Volume vs. Solder Fillet Quality for a specific component.
FAQ (Cost, Lead Time, Materials, Testing, Acceptance Criteria)
1. How much does implementing an AOI data analytics suite cost? Basic on-machine analytics are usually free, but centralized server-based suites range from $10,000 to $50,000 per line.
- Server hardware: ~$5,000.
- Software license: ~$15,000 - $30,000.
- Integration labor: ~$5,000.
2. What is the typical lead time to fully calibrate an analytics system? While hardware installation takes 1-2 days, gathering enough data for reliable statistical limits takes 2 to 4 weeks of production.
- Initial setup: 2 days.
- Library tuning: 1 week.
- Statistical baseline: 2 weeks (min. 500 panels).
3. Can AOI analytics detect issues with the PCB material itself? Yes, specifically regarding color and surface finish.
- Detects oxidation on OSP finishes.
- Identifies discoloration in FR4 material.
- Measures soldermask process window shifts (mask on pad).
4. How does AOI data support First Article Inspection (FAI)? It automates the verification of component presence and polarity, reducing FAI time by 50%.
- Generates an automatic FAI report.
- Compares the first board against the Gerber file.
- See First Article Inspection for workflow details.
5. What is the minimum data retention period for AOI logs? This depends on the industry standard applied to the product.
- Consumer Electronics: 6 months to 1 year.
- Industrial/Medical: 3 to 5 years.
- Automotive/Aerospace: 10 to 15 years.
6. How do we validate that the analytics software is calculating Cpk correctly? You must perform a software validation (IQ/OQ/PQ) using a known dataset.
- Export raw data to CSV.
- Calculate Cpk manually in Excel.
- Compare with the software dashboard; variance should be 0%.
7. Does AOI analytics replace the need for X-Ray inspection? No, AOI is line-of-sight only and cannot analyze hidden solder joints like BGAs or QFN thermal pads.
- AOI sees: Component body, visible leads, polarity.
- X-Ray sees: Voids, BGA balls, hidden bridging.
- Combine both for complete SMT/THT coverage.
8. What is the acceptance criteria for a "Good" analytics system? The system must demonstrate it can drive process improvement, not just report failures.
- Actionable: Alerts must point to a specific root cause (e.g., "Feeder 3 High Error").
- Timely: Alerts must appear before the next 10 boards are processed.
- Accurate: False alarm rate must be stable below 0.5%.
Glossary (Key Terms)
| Term | Definition |
|---|---|
| Algorithm | The mathematical set of rules the AOI uses to determine Pass/Fail based on pixel data. |
| Cad Data | Design data (XY coordinates, rotation) imported to program the AOI machine. |
| False Call | A "Good" component incorrectly flagged as "Bad" by the machine (False Positive). |
| Escape | A "Bad" component incorrectly marked as "Good" by the machine (False Negative). |
Conclusion
aoI data analytics is easiest to get right when you define the specifications and verification plan early, then confirm them through DFM and test coverage.
Use the rules, checkpoints, and troubleshooting patterns above to reduce iteration loops and protect yield as volumes increase.
If you’re unsure about a constraint, validate it with a small pilot build before locking the production release.
