Contents
- Highlights
- Prototype PCB Lead Time Checklist: Definition and Scope
- Prototype PCB Lead Time Checklist Rules and Specifications
- Prototype PCB Lead Time Checklist Implementation Steps
- Prototype PCB Lead Time Checklist Troubleshooting
- 6 Essential Rules for Prototype PCB Lead Time Checklist (Cheat Sheet)
- FAQ
- Request a Quote / DFM Review for Prototype PCB Lead Time Checklist
- Conclusion
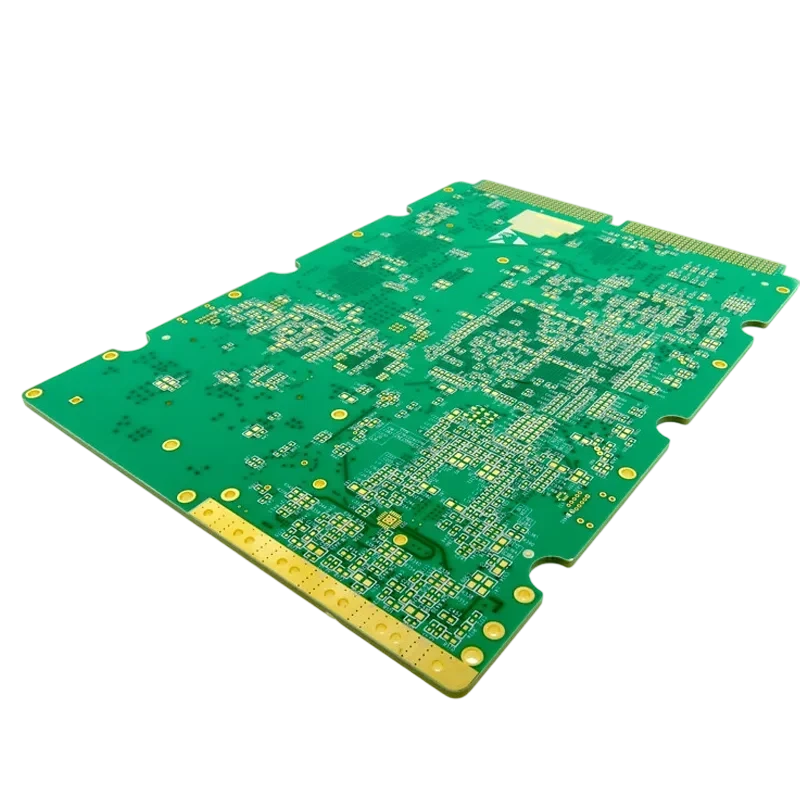
In the world of electronics hardware development, the "prototype pcb lead time checklist" is not merely a schedule—it is a pre-flight validation protocol. It defines the specific data attributes, material choices, and design parameters that determine whether your board ships in 24 hours or gets stuck in Engineering Query (EQ) limbo for a week. For a Senior CAM Engineer, a "fast" board is one that passes DFM (Design for Manufacturing) automated checks instantly, uses in-stock materials, and requires zero manual clarification.
This guide provides a technical checklist to minimize lead time, ensuring your Quick Turn PCB orders move from CAM to fabrication without friction.
Quick Answer
To optimize your prototype PCB lead time, you must align your design data with standard manufacturing capabilities. Here is the essential checklist summary:
- Standard Materials: Stick to standard FR4 (TG150/170) stocked by the factory to avoid material procurement delays (saves 2-5 days).
- Clear Stackup: Explicitly define layer order and dielectric thickness in a separate PDF or README; ambiguity here is the #1 cause of EQ holds.
- Drill Files: Ensure Excellon drill files clearly distinguish between Plated (PTH) and Non-Plated (NPTH) holes.
- Surface Finish: Choose ENIG or HASL for the fastest turnaround; specialized finishes like Hard Gold or ENEPIG add processing steps.
- Via Tech: Avoid blind/buried vias if possible for pure speed; standard through-hole technology is significantly faster to process.
- Pitfall: Missing board outline or mechanical layer results in an immediate hold.
- Verification: Run a final DFM check against the manufacturer's "Standard Spec" capabilities (e.g., 4mil/4mil trace/space) before upload.
Highlights
- EQ Response Time: Lead time clocks usually start after all engineering queries are resolved. Fast EQ responses = fast boards.
- Lamination Cycles: Every sequential lamination (required for HDI/Blind vias) adds 24-48 hours to the baseline lead time.
- Testing Impact: 100% Netlist testing is standard, but failing to provide an IPC-356 netlist can delay electrical test setup.
- Solder Mask Dams: Insufficient solder mask dams (<4mil) often require manual CAM editing, slowing down the tooling process.
- Batching: Ordering multiple prototypes with different specs simultaneously can sometimes gate the shipment of the fastest board; clarify split shipments.

Prototype PCB Lead Time Checklist: Definition and Scope
The "prototype pcb lead time checklist" is a set of technical criteria used to evaluate if a design package is "production-ready" for rapid manufacturing. It encompasses file integrity, material availability, and process complexity.
From a factory perspective, lead time is driven by Process Flow Efficiency. A standard 2-layer or 4-layer board flows through drilling, plating, etching, and lamination in a linear path. Complex designs (e.g., HDI PCB) require recursive loops (drill-plate-lam-drill-plate-lam), which physically cannot be rushed beyond chemical limits.
The scope of this checklist covers three phases:
- Data Completeness: Are all files present and readable?
- Material Stock: Is the substrate sitting on the shelf?
- Design Complexity: Does the design require non-standard processes (e.g., via-in-pad, controlled depth drilling)?
Tech / Decision Matrix → Practical Impact
| Decision Lever / Spec | Practical Impact (Yield/Cost/Reliability) |
|---|---|
| Material Selection | High Impact: Stocked FR4 allows 24h turns. Exotic RF materials (Rogers/Taconic) often require 3-10 days procurement lead time. |
| Layer Count & Stackup | Medium Impact: 2-6 layers are standard speed. 8+ layers or custom stackups require press cycle adjustments, adding 1-2 days. |
| Via Technology | Critical Impact: Through-hole is fastest. Blind/Buried vias require sequential lamination, adding 2+ days per lamination cycle. |
| Surface Finish | Low/Medium Impact: HASL and ENIG are standard daily runs. Hard Gold or ENEPIG are batch processes that may add 1 day. |
Prototype PCB Lead Time Checklist Rules and Specifications
To ensure your prototype hits the production floor immediately, adhere to these specifications. Deviating from these often triggers a "CAM Hold" while engineers verify intent.
| Rule | Recommended Value | Why it matters | How to verify |
|---|---|---|---|
| Trace/Space Width | ≥ 4mil / 4mil | Below 4mil requires specialized etching and AOI setup, slowing throughput. | Run DRC in CAD tool. |
| Annular Ring | ≥ 4mil (pad vs hole) | Ensures registration reliability without manual teardropping. | Check drill-to-copper clearance. |
| Drill Format | Excellon (ASCII) | Binary formats or separate drill drawings require manual conversion/verification. | Open in Gerber Viewer. |
| Board Outline | 10-20mil line on GM1 | CAM engineers need a watertight shape to generate routing paths. | Visual check on Mech Layer. |
| Solder Mask Dam | ≥ 4mil | Prevents mask peeling and slivers; tight dams require manual gang-masking. | DFM Check. |
| Silkscreen Height | ≥ 30mil | Text smaller than this becomes illegible and may require manual cleanup. | Visual check. |

Prototype PCB Lead Time Checklist Implementation Steps
Implementing a robust checklist process prevents the "back-and-forth" emails that kill project timelines. Follow this execution guide before submitting your zip file.
Implementation Process
Step-by-step execution guide
Ensure your zip file contains all Gerber layers (X2 or RS-274X), a separate NC Drill file, and an IPC-356 netlist. Missing files are the #1 cause of immediate holds.
Verify that your specified laminate (e.g., FR4 TG150) and copper weight (e.g., 1oz) are standard stock items. Consult the quote page for standard options.
Run a DFM check to identify "showstoppers" like short circuits, acid traps, or insufficient annular rings. Fixing these in CAD is faster than fixing them via EQ.
Designate a technical contact who can answer engineering queries within 1-2 hours. Provide a "readme.txt" clarifying stackup and special requirements to preempt questions.
Prototype PCB Lead Time Checklist Troubleshooting
Even with a checklist, issues arise. Here are common failure modes that delay prototype lead times and how to fix them.
1. Ambiguous Stackup Definition
Problem: The designer specifies "4-layer board, 1.6mm thick" but doesn't define the internal dielectric thicknesses or copper weights. Fix: Provide a PCB Stackup diagram or table in the fabrication notes. If exact impedance isn't required, state "Use Factory Standard Stackup" to allow the CAM engineer to use available cores.
2. Missing Drill Tool List
Problem: The drill file is present, but the tool sizes (apertures) are not defined in the header or a separate report. Fix: Ensure your CAM software exports the drill file with an embedded tool list (standard in Excellon format).
3. Conflicting Mechanicals
Problem: The board outline on the mechanical layer conflicts with the outline on the copper layers (e.g., copper extending beyond the edge without being defined as an edge connector).
Fix: Ensure the Keep-Out Layer in your design software is respected and that the board outline is a single, continuous closed loop.

6 Essential Rules for Prototype PCB Lead Time Checklist (Cheat Sheet)
| Rule / Guideline | Why It Matters (Physics/Cost) | Target Value / Action |
|---|---|---|
| Standard Stackup | Custom stackups require ordering specific prepregs, delaying lamination. | "Factory Standard" (unless impedance controlled) |
| Drill Separation | Mixing PTH and NPTH causes plating errors or manual sorting delays. | Separate Files or clearly marked |
| Netlist Inclusion | Allows automated comparison of Gerber connectivity vs. schematic intent. | IPC-356 Format |
| Outline Continuity | Broken lines prevent CNC routing path generation. | Closed Loop (0 gap) |
| Material Spec | Vague specs (e.g., "FR4") lead to EQ asking for TG rating. | TG150 / TG170 (Specific) |
| Solder Mask Dam | Slivers peel off during assembly; CAM must manually edit if too small. | Min 4mil (Green/Blue/Black) |
FAQ
Q: Does the lead time include shipping time?
A: No. Lead time typically refers to "Working Days" (W/D) inside the factory—from the moment the EQ is resolved to the moment the box is packed. Shipping is additional.
Q: Can I expedite a prototype order after submitting it?
A: Often, yes. If the board hasn't entered the plating line, we can sometimes prioritize it for a fee. However, once lamination is complete, the physical chemistry limits how much faster it can go.
Q: Why did my order go on "Engineering Hold"?
A: The most common reasons are: missing drill files, ambiguous stackup, conflicting mechanical layers, or trace/space violations that exceed the ordered service level (e.g., designing 3mil traces but ordering standard 5mil service).
Q: Is it faster to order bare boards or assembled prototypes?
A: Bare boards are faster. Turnkey Assembly adds time for component procurement and SMT processing. However, doing both under one roof at APTPCB streamlines the transition and avoids shipping delays between fab and assembly.
Q: Do different solder mask colors affect lead time?
A: Yes. Green is the standard and is processed continuously. Colors like Red, Blue, or White are often processed in batches, which might add 12-24 hours depending on the factory load. Matte Black is the most difficult to process and inspect.
Request a Quote / DFM Review for Prototype PCB Lead Time Checklist
Ready to move your design to production? Ensure your data package includes the following to get the fastest accurate quote and lead time estimate:
- Gerber Files: RS-274X or X2 format (all layers).
- Drill Files: Excellon format (with tool list).
- Stackup: PDF or text description (if impedance controlled).
- Quantities: Prototype count (e.g., 5, 10, 50).
- Material: TG rating and copper weight (e.g., TG150, 1oz).
- Netlist: IPC-356 (optional but recommended for safety).
Submit your files through our Online Quote System or contact our engineering team directly for a pre-production DFM Guideline review.
Conclusion
Minimizing prototype PCB lead time is less about rushing the factory and more about providing a clean, unambiguous data package. By adhering to the prototype pcb lead time checklist—verifying standard materials, clear stackups, and robust design rules—you empower the CAM engineers to process your job instantly. A well-prepared file is the fastest ticket to a high-quality board on your desk.
Signed, The Engineering Team at APTPCB